How to Spot Moisture Traps in a Bathroom Before Renovating
Bathrooms are by design the wettest rooms in a home. Yet, many renovation plans neglect a critical factor that directly impacts the space’s comfort, longevity, and the health of its occupants — moisture control. As someone who has spent over a decade translating contractor jargon into straightforward advice for homeowners, especially in humid climates like Singapore, I cannot stress Check out here enough how crucial it is to identify and address moisture traps before you renovate your bathroom.
Why Home Design is a Health Driver
Your bathroom is more than just a functional space; it’s a hotspot where humidity meets warmth and poor airflow breeds mould and mildew. These are not mere nuisances — they can cause respiratory issues, allergies, and worsen asthma symptoms.
Designing your bathroom with moisture control in mind is a health investment. Ignoring it means setting up a cycle of constant cleaning, patch repairs, and possible expensive mould remediation.
What Are Moisture Traps?
Moisture traps are spots or configurations within a bathroom where moisture tends to accumulate and linger, creating dampness and encouraging mould growth. They often result from:
- Poor ventilation
- Incorrectly chosen or improperly installed materials
- Bad layout and detailing that inhibits airflow or encourages water to collect
- Unnoticed structural defects like hidden leaks or inadequate waterproofing
Moisture Trap Signs to Look Out For
Before you start tearing down tiles or buying fancy fixtures, you need to inspect your bathroom to spot existing or potential moisture traps. Here are the key signs:

1. Persistent Damp Corners or Walls
Check the corners of your shower, behind the vanity, and near the toilet. Are there spots that remain damp or have water stains? Damp corners are classic moisture trap zones caused by poor ventilation or water seepage.
2. Peeling Paint or Wallpaper
When paint bubbles or wallpaper lifts up in small patches, moisture is pushing from behind. This often points to wall cavities holding water or inadequate waterproofing layers.
3. Musty Odors
A persistent musty smell despite cleaning typically means mould or mildew colonies are flourishing in hidden places — often inside walls, behind tiles, or under floors.
4. Visible Mould Growth
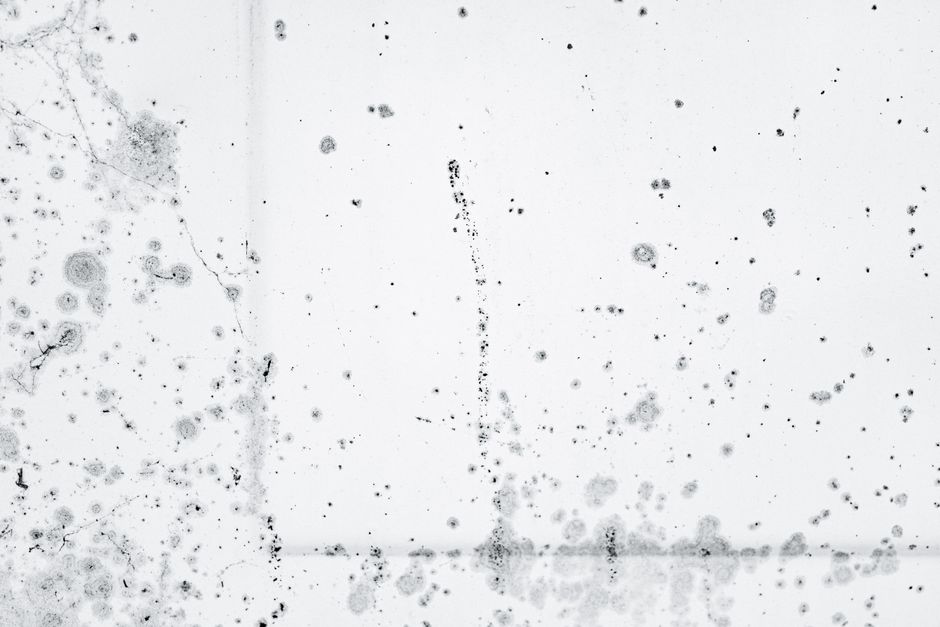
This one is obvious but often gets overlooked or treated only as a cleaning issue. Mould in grout lines, tile edges, behind cabinetry, or under sinks is a sign moisture is trapped frequently.
5. Condensation on Windows or Mirrors
Excess condensation indicates poor airflow and insufficient extraction. If the bathroom window stays fogged or wet for long stretches, it’s a warning sign.
6. Water Pooling or Poor Drainage
Do water puddles linger on the shower floor or near the basin? Improper slope or blocked drains create pockets where water stays instead of draining, turning into moisture traps.
Material Choices: Resist Humidity and Promote Hygiene
Material selection can either worsen or prevent moisture issues. Vague advice like “choose quality materials” isn’t enough — here’s what to look for:
Material Recommended For Humidity Resistance Ease of Cleaning Notes Ceramic or Porcelain Tiles Walls, floors, shower enclosures Excellent Good Choose non-porous options and minimal grout lines Waterproof Vinyl Flooring Flooring Excellent Excellent Easy installation; avoids grout mould issues Moisture-Resistant Gypsum Board (Green Board) Walls behind tiles, ceilings Good (better than normal gypsum) N/A Must be paired with waterproof membrane Natural Stone Countertops, feature walls Poor to moderate Requires sealing Porous; needs maintenance to prevent water absorption Waterproof Paint Walls Good Good Use in low splash zones; not a substitute for waterproof membranesNote: Even the most moisture-resistant materials fail if installation details are sloppy. For example, grout lines need sealing, tile edges must be flush, and waterproof membranes continuous.
Ventilation and Airflow Planning in Humid Bathrooms
Good ventilation is the simplest and most effective way to prevent moisture traps. Many renovation plans skimp on this crucial aspect, or rely solely on windows (which often don’t open or are opened infrequently).
Key Principles
- Exhaust Fans: Install high-capacity, humidity-sensing exhaust fans to pull moisture out immediately during and after showers.
- Air Inlets: Balanced airflow requires vents or gaps to allow fresh air in, not just outflow.
- Dehumidifiers: In very humid climates, consider commercial or built-in dehumidification units.
- Window Placement: Windows are helpful but should never be the sole ventilation method unless they open wide and are used regularly.
- Cross Ventilation: If possible, design windows or vents on opposite sides to encourage airflow.
Layout and Detailing to Prevent Damp Corners and Moisture Traps
Sometimes moisture traps arise purely because of poor space planning or detailing failures. These are often overlooked because you’re thinking more about aesthetics or appliance placement.
Bad Layout Issues to Avoid
- Dead-end corners where air cannot circulate
- Cabinets placed flush against walls without ventilation gaps
- Showers directly adjacent to walls without waterproofing or splash guards
- Hidden plumbing lines prone to leakage and difficult to inspect
Smart Detailing Tips
- Include reversible access panels for inspecting hidden plumbing
- Use coved corners with sealed finishes rather than sharp 90-degree corner joints where water and dirt collect
- Seal all joints with mould-resistant silicone rather than using grout alone
- Raise cabinet bases or use ventilated panels to prevent trapped moisture underneath
- Ensure sloped floor tiling directs water towards drains efficiently
Planning Your Bathroom Renovation With Moisture Control in Mind
Effective bathroom renovation planning means incorporating moisture control strategies before even ordering tiles or picking faucets.
- Identify Existing Moisture Trap Signs: Use the checklist above as a starting point. Inspect with a flashlight and moisture meter if available.
- Consult Qualified Designers or Contractors Familiar With Humidity Issues: Not all professionals understand tropical climate challenges — look for portfolios or references specific to humid regions.
- Select Materials Wisely: Opt for moisture-resistant surfaces with sealed joints.
- Design for Ventilation: Plan for exhaust fans and airflow paths upfront.
- Focus on Detailing and Layout: Avoid boxed-in cabinetry and dead corners. Integrate inspection points where possible.
- Source Expert Advice: Consider following specialists and organizations for up-to-date tips on mould prevention and bathroom health design.
Stay Connected with Trusted Resources
Follow YourHealthDMV on Facebook for health-driven design insights and practical moisture management tips.
Also, check out the Stay Connected section on my LinkedIn profile for interviews with interior designers and renovation experts specializing in humid climate homes.
Conclusion
Spotting moisture traps before renovating your bathroom is the single smartest step you can take to avoid long-term mould problems and unhealthy living environments. Correct identification, smart material choices, airflow planning, and thoughtful layout will keep damp corners and mould at bay.
Renovation is not just about looks — it’s about building a healthier home. Don’t let moisture traps undo the investment and effort you're about to make.
Got a bathroom renovation coming up? Take a walk through your space with the moisture trap signs checklist. Plan ventilation and materials carefully. And remember: the best mitigation happens before the first tile is laid.